


Please follow the step by step guide below for a smooth onboarding to KickStart Field Service Management.
Important Integrations for your Kickstart account:
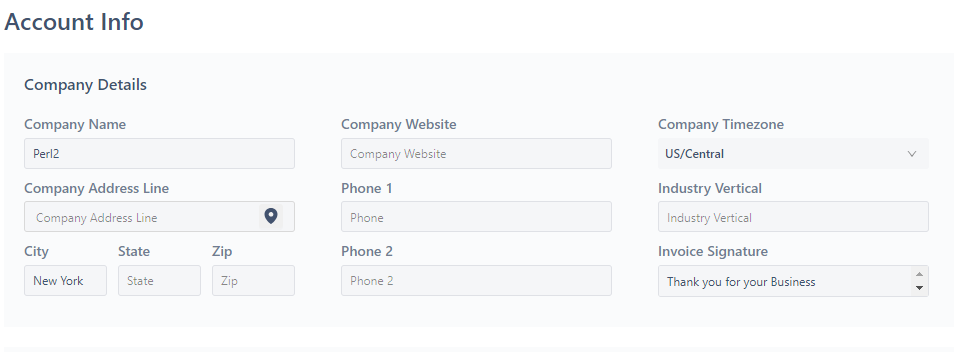
Step 1: Make sure your business details are complete and accurate.
Step 2: Integrations for payments and accounting
Kickstart provides 3 important integrations for your business. Easily integrate Kickstart with software’s such as QuickBooks, Stripe and Mailchimp.
QuickBooks Integration:
If you are using Quickbooks online for your accounting process, you can seamlessly integrate it with Kickstart for automatic syncing of Customers, Products, Payments, Invoices, credit notes. It ensures a smooth and error-free transfer of financial data, from invoices to payments, streamlining accounting processes.
Please follow the following steps in order to integrate your QuickBooks with Kickstart.
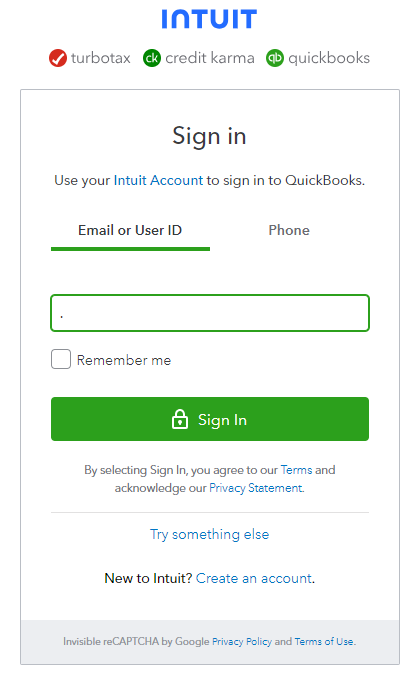
- Click ‘My Business’ in the top right corner, Select ‘Account info’ where you will see the connect to QuickBooks option.

2. Sign in to QuickBooks using your email address.
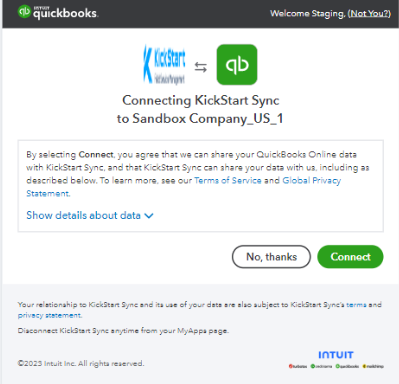
3. Click ‘Connect’.
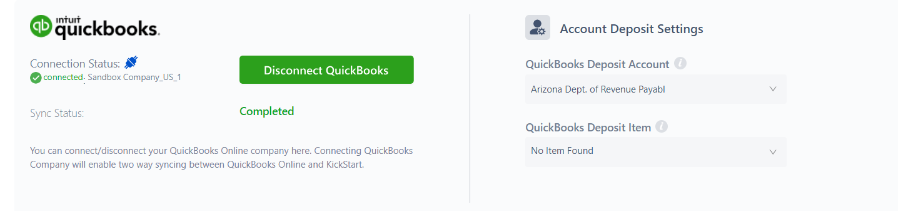
4. Once authorized, you will automatically be redirected back to the KickStart. You can manage QuickBooks Online connection as shown below.
If you are not using QuickBooks online for your accounting, simply skip to the Stripe Integration section.
Stripe Integration:
Kickstart uses stripes for payments collections from your clients. Integration with Stripe transforms the way businesses handle transactions. Clients benefit from a seamless payment experience, with options like autopayments and smart payments.
If you already have a stripe account please skip step X and move to step Y otherwise follow through below instructions.